Welcome to my blog dear reader, your reasons for following the demented ravings of a middle-aged, Pastafarian archaeologist are beyond me but that's your business!

Saturday, 7 April 2012

A Village Tour


Hi everyone! Was at the allotments the other day (new Allotment Corner post coming soon!) and it was such lovely weather that I took a load of photos on my walk back home. Thought I would put them up here to give you all a virtual tour round our village. 


The playing fields where the allotments are located.
A lovely trough of flowers outside the entrance to the playing fields.

This house has a really cool painted pig statue in the garden!

A close up - the picture is of a river with fish and frogs etc. and the upper half is the river bank, clever!


A couple of nice cottages


                                     A converted chapel, makes a nice home.


The Village Hall - regularly used for Craft Fairs, theatrical productions and other village entertainments!


The local pharmacy 


The Co-op with the Dog Grooming Parlour next door.


Some more lovely cottages.


The Chippy - our favourite establishment!

The High Street with Church.


Church tower - our village is famous for its church clock, if you look closely there is no number 10 but there are two number 12s. Local legend states that the person who commissioned it was always told by his wife that he had to be home from the pub by 10 o'clock so he made sure that 10pm would never come. Don't know how true that is but makes an interesting tale!


The Market Cross - 14th century.


Churchyard with assorted gravestones.

The local watering hole - yay cider!
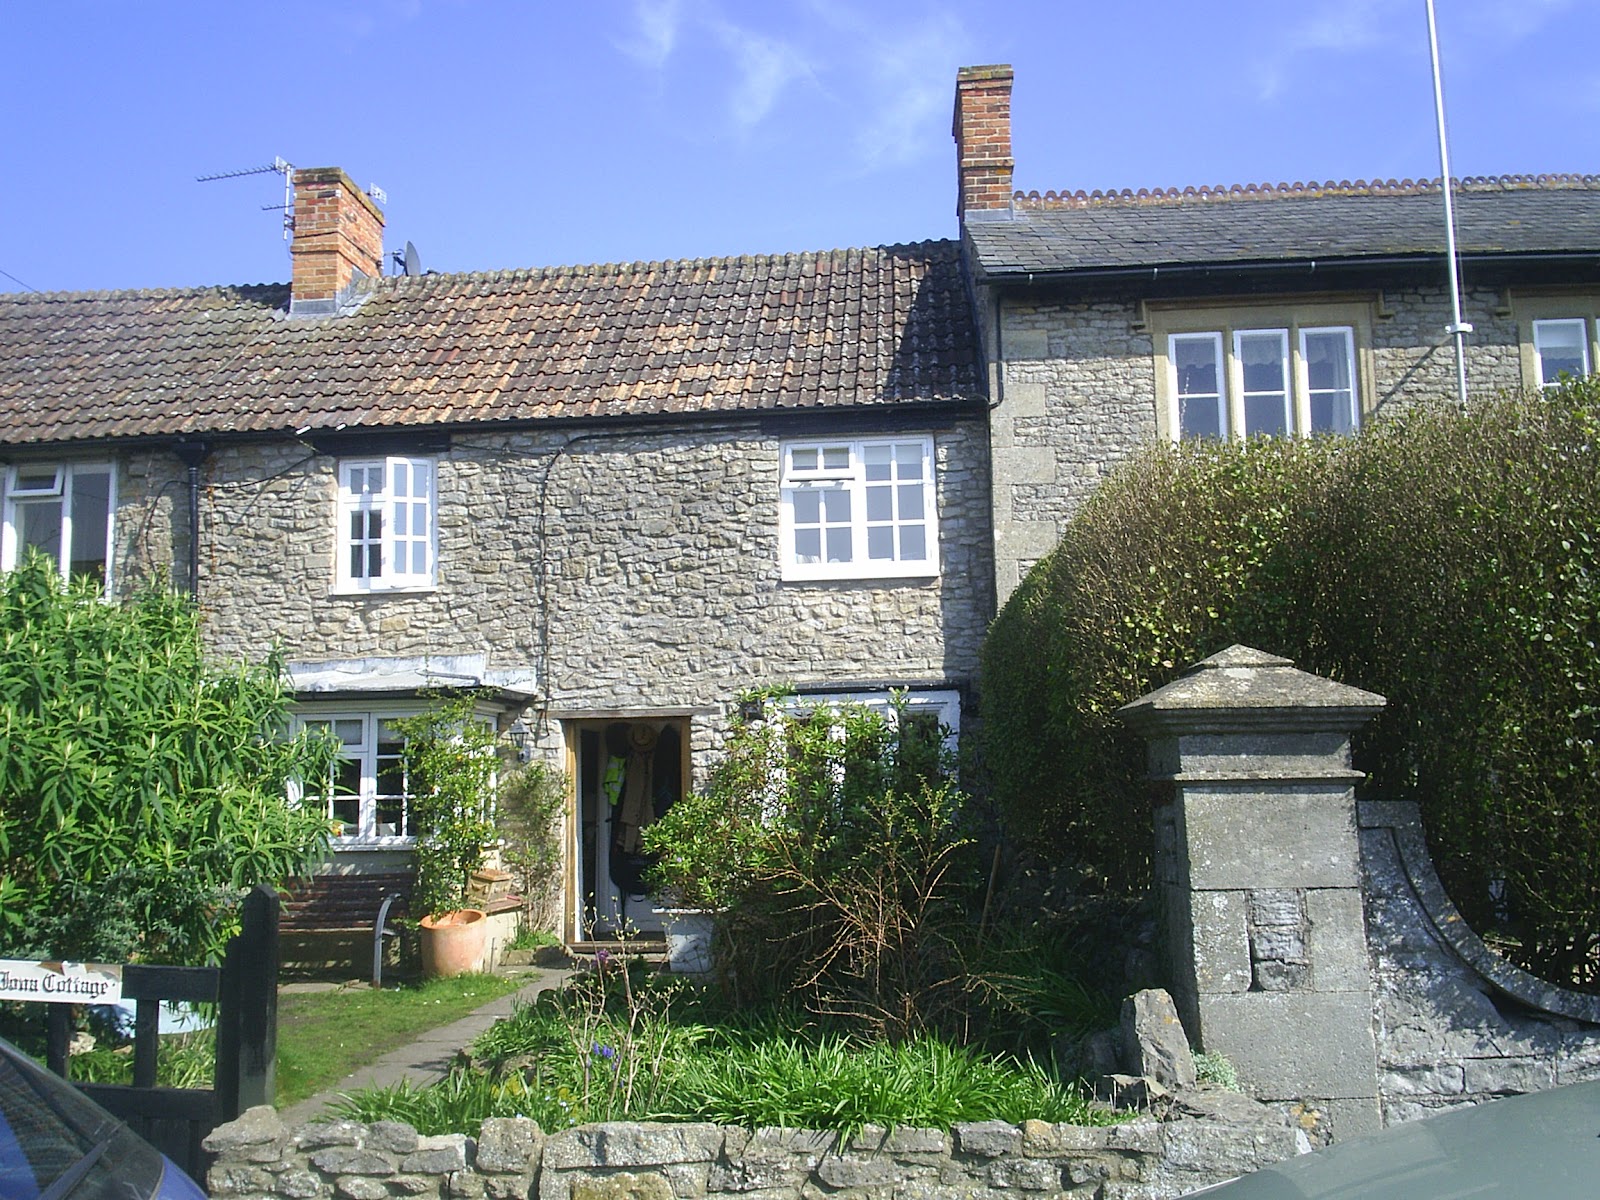
Our little row of cottages.


And so we return home. Hope you enjoyed our little tour around the village. Look out for Allotment Corner #3 coming very soon!

Lotsa love, D  x

Sunday, 26 February 2012

Allotment Corner #2.

Welcome to the second post in our occasional series 'Allotment Corner'.
Today was a beautiful sunny day so we thought we should get on with our work getting the ground ready for planting fruit and potatoes which need to go in by the middle of March. We had been over to the plot a couple of times lately, just to deliver some more bags of compost from our garden compost heap but this time we wanted to get on with the tidying up process so we packed up our tools and some more bags of compost and set off. Unfortunately our small person (see Allotment Corner #1) was unavailable today but we had help in the form of our good friend Charlie.


As we pulled the car up to the entrance to the allotments and opened the gate so we could drive through, a gentleman caught sight of us and trotted over. As we all know, the sight of an elderly gentleman leaning on a gate and ready to talk the hind legs off a donkey is irresistible to most blokes so much time was spent chatting before we even got the car driven over to our plot! I decided to forego the delights of male bonding and go on ahead to get a few pics for you. The first couple are just general views of the allotments and the subsequent ones are of our plot looking a lot better after some weeding and cutting some nice straight edges (Mr Cheeze is rather OCD and so untidy edges do cause him some discomfort and anxiety).


Eventually the others got round to joining me at the plot and unloaded the car. On the last rip we made to the plot we had emptied and moved one of the raised beds that we had inherited from the previous owner and the next job was to put a shallow layer of clay in the bottom of this and then add a mixture of some of the clay soil from the plot, the topsoil and compost we had brought from home and some sand to open up the texture and make it easier to work with.


Delivering compost.


Adding a layer of clay.


Once all of the different components had been added to the raised bed (and the boys had finished being silly) Charlie used a fork to mix all the ingredients thoroughly.


A sandcastle opportunity is not to be wasted!

Yes boys its lovely, now back to work eh.

Charlie mixing industrially.


Meanwhile, I was carrying on with the edging and de-turfing process.


Once the guys had finished filling the raised bed I dug up the two rhubarb plants we had also inherited with the plot and re-planted them in it.  

Digging out the rhubarb.

Re-planting in the raised bed.

Whilst I was doing this Mr Cheeze was gossiping networking with a neighboring allotment holder. This turned out to be very beneficial to us because he was digging out some raspberry canes he no longer wanted and he offered them to us! We had been planning to buy a load but he gave us so many we no longer need to buy any, great! I duly planted them in the raised bed with the rhubarb until we have finished preparing the ground where they will eventually be grown.

Mr Cheeze bearing raspberry canes!

The planted up bed.

A close-up showing rhubarb and accompanying raspberries.

A last look at the plot.
After all this hard work (thanx for the help Charlie! x) we decided it was time to go home for tea so, with a last look at our little plot of land, we drove off into the sunset.
Join us again soon for another exciting edition of 'Allotment Corner' when we will be attempting to rotevate in all the compost and plant our potatoes!
See you soon! x  

Saturday, 28 January 2012

How to dig a hole - #1 a hearth.

Greetings inquisitive reader, I am sure that it has occurred to you in moments of contemplation to ponder 'What if I were to inadvertently find myself in the midst of an archaeological dig whereupon some crusty old git  kindly Project Officer should request my assistance on site? What should I do? How will I cope?' Fear not panicky reader for I am here to help! With this quick and easy guide to digging a hole you will be a competent excavator and recorder of features in no time!


#1 - Find your feature.

Once the area to be investigated has been stripped of topsoil and subsoil by the nice man in the digging machine any ditches, pits etc. should show up against the background of the natural geology, like so.....


Here we have a small hearth. A fire has been lit, the heat from which has baked the clay surrounding it and turned it orangey/pink. This can be seen as a halo around the outside of the feature. The small depression left in the ground, full of ash and charcoal, has then either been deliberately covered with soil or it has become covered by natural processes over time. We first need to remove this soil layer, keeping the charcoal and heat affected clay intact so it can be recorded in situ and a sample taken. In order to show the different layers of deposits in a feature we do not take out the whole of the fill but just half so that a profile of the feature can be recorded (yes folks, it IS possible to dig half a hole!). Each layer is given its own number, called a context number, and will be recorded on a context sheet later.

#2 - Half section your feature.

Set up a couple of nails and string across the centre of the feature, this will act as a guide while you take out the upper fill.


As you are removing the fill you must keep the side of the other half as straight and vertical as possible to show the stratigraphy (layers) of the feature and keep it looking neat and tidy. Any stones or artifacts etc. that lie between the two halves should be worked around and left sticking out of the section, they should never be pulled or dug out of the section as this would leave an unsightly hole and not be a true representation of the interior of the feature. Any artifacts found should be placed in a finds bag labelled with the site code and context number of the layer it was found in.
After removing the upper soil fill but leaving the hearth contents and the heat affected surrounding clay in situ you should then photograph the feature using an appropriately sized scale and a story board stating the site code, area and the feature's number. This should also indicate the direction the photograph is taken from.


#3 - Take a sample.

After removing and photographing the upper fill you are now ready to remove the lower fill and take a sample of it for carbon dating, environmental analysis etc.


After placing the sample in a sample bag or tub you should write out two labels with the sample number, the context number of the layer sampled and the site code, one label goes into the bag and the other is attached to the bag using the string, zip tie or whatever else you are using to tie the bag shut. A sample sheet should then be filled out describing the properties of the context, what percentage of the context the sample represents, what information is required of the sample etc.

#4 - Take a photo.

Once the feature is completely excavated a photograph should be taken as before with a scale and story board. Here is a close up showing the two distinct layers within the feature, note the charcoal in the lower layer and the orangey/pink colour in the base showing how the heat has baked the surrounding clay.


#5 - Draw the section.

After photographing the section a scale drawing should be made at a scale of 1:10. To do this you should set up your string again a few cm above the feature and make sure that it is perfectly level using a string level.A height will be taken on the string later in order to ascertain the height above sea level of the feature.


After the drawing is completed it should look something like this.


Cheezey Enterprises would like to apologise for the quality of the last picture, it would appear some fault has occured with the camera (Yeah, the photographer! Ed.) Alas my photography is definitely worse than my excavation but I hope that you can glean the basic idea from this travesty of an image, I hang my head in shame :-( .

A context sheet is then filled in for each layer within the feature. This describes the compaction, colour and composition of the layer, what inclusions it contained (stones, charcoal etc.) and in what quantity, and the measurements of the layer (extent, thickness etc). There is also a space for a sketch of the feature, in plan and profile. We will go into the context sheet in more detail in a later post.


And there you have it! You now have the ability to go on site and dig a simple feature such as this. Keep an eye out for future articles in this series and we will soon have you digging like a pro! (a professional that is, not a prostitute).

Happy digging!
Cheezey D x

Sunday, 8 January 2012

A day at the races!

Just before christmas my son Joe and his girlfriend Vikki asked us if we would go to the races with them in the new year, so yesterday we set off for Wincanton racecourse to watch some anorexic young men (and women) riding round in circles to enable the poor, impoverished bookies to scrape a living.

Joe


Vikki


Us - Cheezey D an Mr Cheeze!


Joe and Vikki had bets on all the races and even had a winner, although one of Joe's horses fell!
We decided to get into the spirit of things and invested a whole pound on Kavegirl at 10-1 to win the third race of the day. Alas, her performance was no better than her spelling and victory eluded her, although she did come in at a respectable 3rd place. If we had only put our money on each way we would have won a couple of pounds but, such is life!


Vikki's favourite horse Pasco

Joe's winning horse Consigliere
Gallox Bridge - Joe's horse that fell!
Kavegirl!
Sum jockeys


Although we have never really been into horse racing or gambling we found it interesting and enjoyed the experience more than we thought we would. I think if I were to go again I should like to go in the summer, a few pints of cider in the sun would enhance the experience no end!  Thank you Joe and Vikki for a nice day, it was lovely to see you both x

(Photos by Joe)